skip to main |
skip to sidebar
With the entire step stool now glued up I realized I hadn’t cut feet yet. I took my Lee Valley Drawing Bow and marked out a subtle curve in the middle of each leg. Once I cut out the curve with a jig saw, it left two (2) feet on each leg.
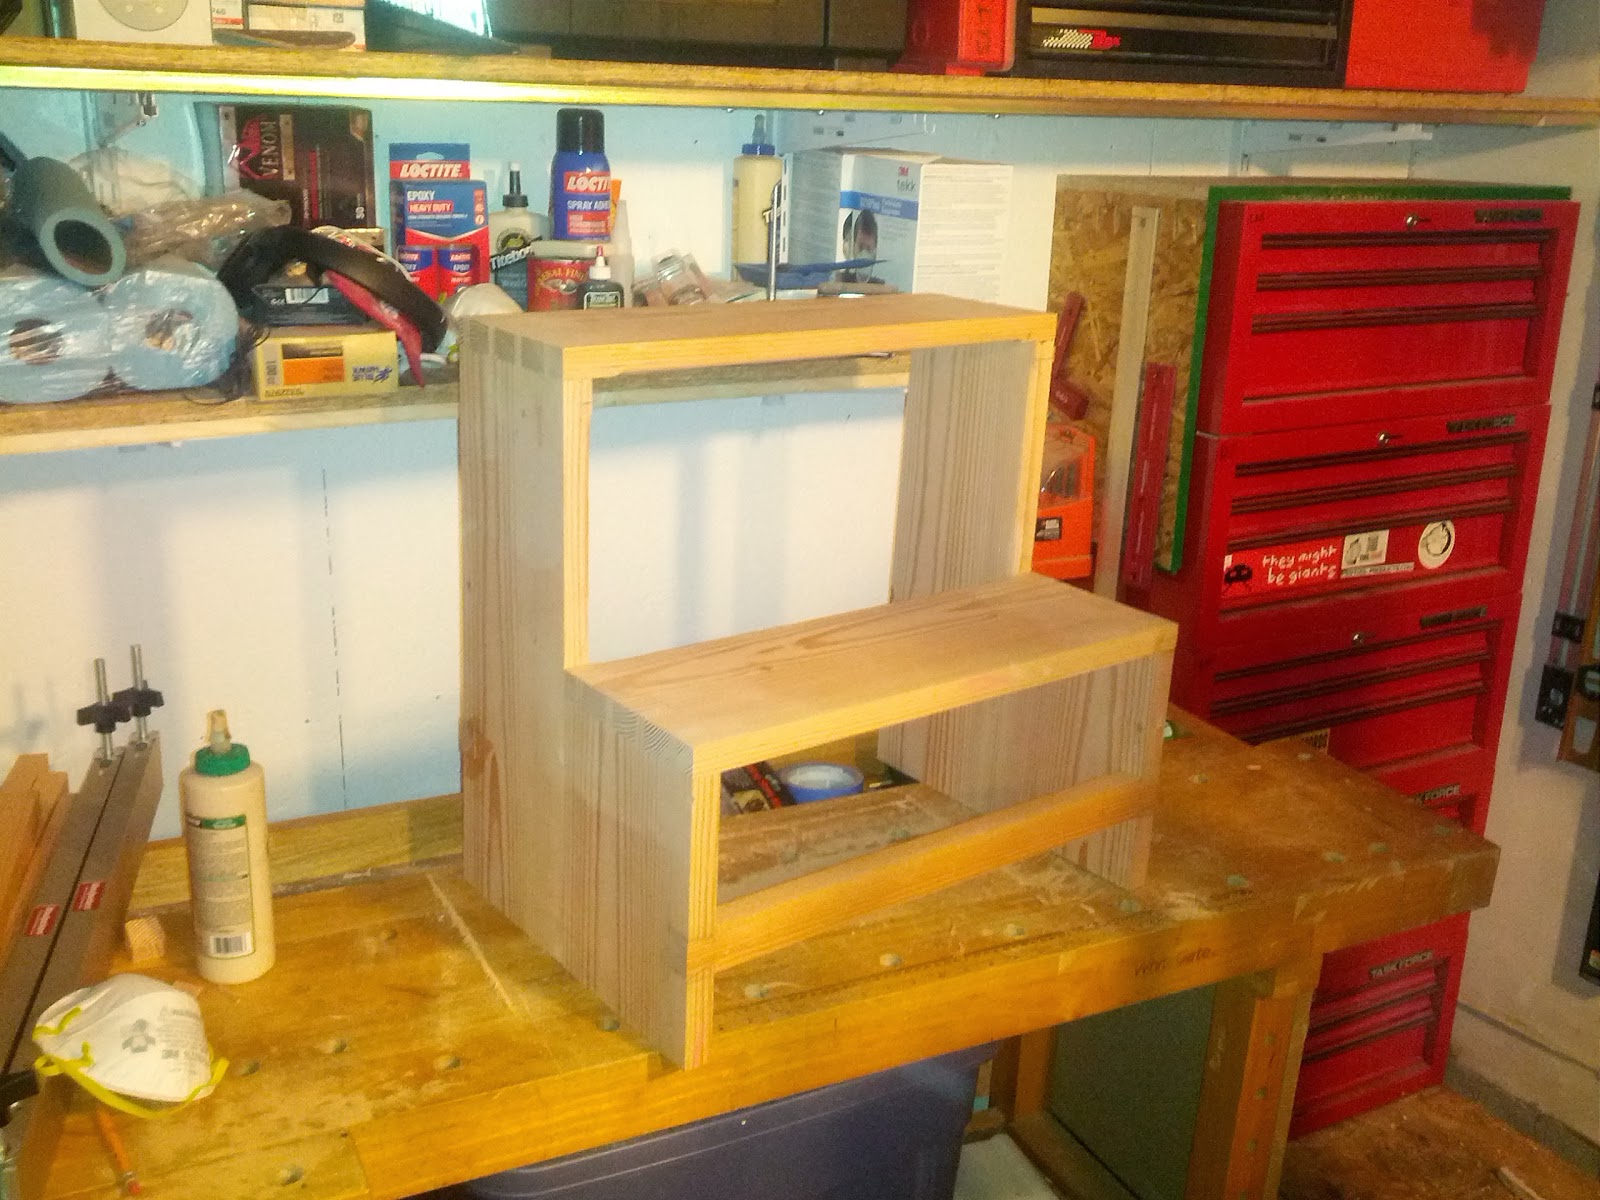 |
| All ready for feet. |
Now with feet I took the step stool over to my router table. After the nasty incident with my neighbor during this stage of my last project, I setup my router table inside this time.
I removed the fence and used a bearing guided ¼” radius roundover bit, I ran every reachable edge of the stool (except the bottom) over it. This method took a bit of getting used too. With a bit of practice I soon found it easy as the stool is not so big as to hang completely off the router table yet is big enough to provide plenty of reference and holding surface.
 |
| Its starting to look curved. |
Fresh off the router table the stool (or any piece having this roundover method used) is rounded, but not done. The routed curves on the edges are hard, disjointed and where they do flow into each other they have a shallow, machine cut look. I only use the router to hog off most of the waste, not to provide my final edges. After routing it is time for rasping.
 |
| My arsenal (and some additional). |
As I’ve grown to enjoy the process and results of using rasps, my collection of rasps has grown. As I’ve used them more and more, favorites have emerged and others have fallen out of use. On Stephen’s Step Stool I did all my initial rasping using my Shinto 9” rasp. Though amazingly cheap, the woven blade is exceptional at coarse and medium rasping with efficient chip removal. Unlike other cheap rasps I’ve used, the Shinto does not leave tooth tracks (due to the woven blade).
 |
| The Shinto is wonderful at coarse work. |
Next I used my Auriou #9 Cabinet Makers rasp. The Auriou further refines the curves while taking the coarse surface left by the Shinto and smoothing it to a much more consistent surface. Finally I used my new Gramercy 5” 25 tpi cabinet makers rasp. This Gramercy is delightfully light and leaves a very smooth surface (for a rasp).
With all the rasp work I do my goal is to further refine and flair the curves. I want them be organic, flowing and invite touch.
As transformative as the rasps are, even fine rasps leave a surface too coarse for finish. When I’m done with the rasps I switch to my Rotex sanders. I use an RO 125 and an RO 90. When setup on Rotex mode with an 80 or 120 grit sanding pad and set to speed 1, they do a wonderful job of removing the rasping marks. They also use the Festool Interface pads which allow the sanders to wrap the rounded edges and prevent flattening.
 |
| Gaps? What gaps? |
After sanding the curved edges I added blue Transtint dye to 5-minute epoxy and filled in the few big gaps in the dovetails. Once the epoxy was dry I took out the sanders again, this time sanding the entire stool. I currently sand up through 220 grit, though I’m not completely satisfied with my sanding results. I’m not sure what changes I’ll make, but I’m considering going much higher in grit.Find all of the Step Stool posts here.
Dont forget about the +Modern Woodworkers Association Podcast. We talk woodworking with Guests from around the world of woodworking every other week. Subscribe to the RSS feed or iTunes today.
Read More..
I was going to document the full build of this little project but my camera battery died after just a few beginning shots and by the time it had charged up I had completed most of the build. Needless to say its very similar in concept to my Traditional Saw Bench if you are interested.
The spare off-cut from my large Coffee Table top and the last remaining budget 2"x2" from my Saw Bench were dying to be introduced and the simple lap jointed Stool you see below is a result of their union.


I am calling it rustic as the Pine that forms the simple lap jointed frame is so knotted and wild its almost unworkable. There is sap wood, reversing grain and knots but I couldnt bring myself to waste the wood. I was going to attempt lap jointed dovetails but I figured that would probably end in disaster at my skill level with this wood.


To be honest, this project almost didnt make it to completion as I nearly threw the whole lot out of the window in a temper several times. I had the whole thing completed bar the glue up. I did my final planning of the joints to get everything nice and flush and tight and did several dry fits with clamps to check everything was perfect before gluing it up. I was actually quite proud of my accuracy and the tightness of the joinery.
I aborted the first glue up as the top would not fit into the frame once glue was included and I frantically tried to get things apart from their half assembled state before the glue dried. This resulted in my pieces all getting mixed up - yes once again I didnt mark each component and its position - Doh!!!
After cleaning up the glue and waiting for it to dry, I re-sanded the joint faces making them a little looser and clean. However, I couldnt seem to get the pieces in the same order as originally intended and the joinery wasnt as tight. Attempt number two failed and resulted in glue over everything - Aaarrggh!!!!
Luckily my sanity allowed attempt number three - a charm! However, despite wiping all the glue up with a wet cloth and re-sanding everything again, the liquid Bees wax finish shows several glue stains. They could be sanded out with wax reapplied but Im going to leave them and wait for everything to just age.
This stool is going to be used to stand on for easy access to kitchen cupboards and as a general useful item around the house so its going to get marked regardless... and I simply cant be bothered!

I may not be able to build fine furniture yet, but its useful furniture none the less! ...
Read More..
As I havent built a stool for a while, I decided to try my hand at a Shaker style bench / stool.
My scaffold boards have warped a fair bit in drying meaning a full bench was not really practical. Ok, I admit it, with a lot of planing it could be done, but my natural laziness told me to keep it small... hence Im calling it a Shaker stool.
With some inspiration from Google images I rough cut my two side pieces of timber and attacked them with my winding sticks, a no#6 Foreplane set for a heavy cut followed by my no#7 Try plane set fine to get them flat.
After getting the edges straight and parallel, I cut the ends square on the bench hook.
I am definitely getting faster as milling rough sawn boards into usable stock.
The main feature of this stool is the cut out design of the side pieces. I first found the centre of the board and marked the position of my desired hole.
Now its confession time... I didnt have an auger bit large enough and resorted to using .... A POWER TOOL!!!!!
Yep, I drilled my hole with my cordless drill and I feel dirty for it!...In fact it made everything dirty - what a mess it made. To make matters worse there was also a lot of tear out between the hard and soft wood in the grain.
Finally cutting out the connecting wedge shaped bit of wood with my large tenon saw. Now I had my sides, I needed a seat piece, more milling...
Soon it was beginning to look a bit like a stool...
Now I didnt have a plan and was just making it up as I went along, I had a loose idea of maybe some tenons in the side pieces coming up through the seat, but I didnt like the fact that the sides were the same width as the seat so there was no decorative overlap.
I didnt want to reduce the width of the side pieces as that would make the stool less stable. Where the side pieces meet the top piece looks clunky. What to do.... I decided I would have the side pieces rabbeted into the seat for strength and see what it looks like ...
Hmn... Still rather clunky. My only other option is to have the tenons come up through the seat on the outside, thus hiding the joint. I marked and chiseled out the recesses in the seat top and used it as a template to mark up the side piece tenons.
I was finally happy with how the joint looked, now I just needed a cross brace that would mortise and tenon through the side pieces. More milling...
With the brace all milled flat and true, I proceeded to cut the tenon on each end. Followed by the corresponding mortise in each side piece.
I was aware (after I finished the tenons) that I should have cut the mortises first to ensure that the tenons would be a tight fit ... luckily they werent too bad.
It all fits... Now its my favourite part of the project... NOT!
Glue Up... Take the phone off the hook, lock the door. Get everything ready... do a dry run first.
I also added a chamfer to the ends of the seat top.

After gluing up the stool, it was just a matter of flush cutting off the protruding tenons, some final trimming and then applying a finish.
Read More..
The start of the year had come and gone with nary a word from the Furniture Project. Typically the promotion of their traditional February event begins in the fall. The lack of information this year had me wondering if the event would continue (and hoping for the best). Though it didnt make it to air, I even had the question "whats up with the 2014 Furniture Project?" in the show notes for the most recent Modern Woodworkers Association podcast.
 |
| My friend, Rusty, with his stool from the 2012 Furniture Project |
Then, as if in answer to my question, the Furniture Project tweeted this teaser on Friday:
Call for Entries - Design|Build|Show Challenge:
Category Constraints:
- The piece must be 3-6 tall, no more than 24" wide and no more than 18" deep.
- The piece must have at least one door.
- The piece must be made primarily of wood, though the use of other materials is encouraged.
- All finishes are acceptable (paint, oil, lacquer, shellac, etc.), including unfinished.
- If you have any questions, email us at info@designbuildshow.com. We will update the rules with any frequently asked questions.
Hopefully Ill be able to make the 2014 Furniture Project. Ive been to the show in years passed and Id highly recommend it. Do visit if you can. And why not? Make a Chimney Cabinet and showcase it while youre there.
Dont forget about the +Modern Woodworkers Association Podcast. We talk woodworking with Guests from around the world of woodworking every other week. Subscribe to the RSS feed or iTunes today.
Read More..
This originally posted on modernwoodworkersassociation.com?
? Show Notes:
Where can they find us
And, that just about wraps it up for this show.
If you’re missing us already, you can subscribe to the show on itunes. Just search for the Modern Woodworkers Association. Once you’re subscribed, you’ll be sure never to miss an exciting episode. While you’re in iTunes, please leave us a 5 star rating. It helps our rank so others can more easily find us.
If you want to find out more about the Modern Woodworkers Association, be sure to visit modernwoodworkersassociation.com, follow the MWA on twitter @MWA_National, like the MWA on Facebook or circle Modern Woodworkers Association on Google+. While you’re there, join the MWA Google+ community for project sharing, discussion and loads of woodworking banter.Dont forget about the +Modern Woodworkers Association Podcast. We talk woodworking with Guests from around the world of woodworking every other week. Subscribe to the RSS feed or iTunes today.
Read More..
My son, Stephen, inherited his current bed from his Uncle. It’s a standard twin size mattress with six (6) drawers below it. This leaves the mattress at a height which is a quick hop for an adult to get up onto and a big climb for an eight year old.
 |
| Stephens old stool is much the worse for wear. |
Since receiving the bed Stephen has used a small stool he made in Nursery School as a step. The stool was a simple project designed for four your olds to assemble. It’s consists of a 12” x 12” piece of ¾” CDX plywood with four (4) 2” x 2” legs attached with two (2) 8d nails each. Frankly, it’s amazing the old stool lasted as long as it did.
Stephen has been struggling to get up into his bed since his old stool broke. When we found ourselves the only ones home one recent afternoon, we headed to the shop and began working on his new stool.
We began by looking at step stools online. Stephen took an immediate liking to Warton Esherick’s library Ladder. As much as I’d like to make one, time was off the essence, so I had to veto that plan. We ultimately settled on a traditional Shaker step stool.
 |
| Brian VanVreedes awesome version of Eshericks Library Ladder. |
After looking at a few online, I remembered that there was a Shaker step stool in Rough Cut –Woodworking with Tommy Mac. We dug out my copy and used the cut list for overall dimensions and a basic parts list.
For Stephen, that’s where the boring part began, spending an hour feeding boards through the planer and jointer wasnt his idea of a good time.Dont forget about the +Modern Woodworkers Association Podcast. We talk woodworking with Guests from around the world of woodworking every other week. Subscribe to the RSS feed or iTunes today.
Read More..
Another post ...at last!... Sadly again without in any real useful or interesting content.
Lately (as regular readers can probably tell), I have been lacking motivation in the wood working department - for a number of reasons.
Firstly, I dont have any wood around thats suitable for any of the things Id actually like to make - such as a tool chest. My Timber Investment is still drying out in the shed and wont really be ready for anything other than really rustic work and gardening projects for a little while and I am too tight to purchase more premium cost wood from the timber yard.
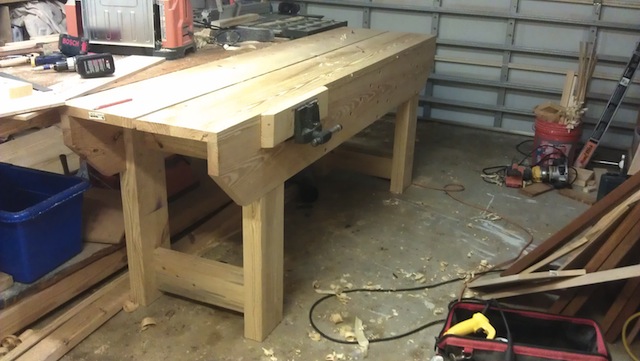
Secondly, in my quest to escape the timber merchant, I have been trying to process the raw billets of Oak and Walnut with a lot of frustration! While my little bench was fine for pre planed wood, its simply not man enough to handle the rough scrubbing of the billets down to usable dimensions. The poor thing racked so violently, it almost fell to pieces!

The base twisted so badly that the bottom shelf fell out and I swear the bench tried to escape from me by smashing through its supporting wall! Anychoice, ... I will try and brace the bench up and bite the bullet and make it as low as possible to see if that helps with planing, while I try and ignore the obvious - Make a PROPER BENCH!
And I thought everybody was building Roubo benches just because they were just fashionable!
Lastly, being as OCD as I am, I find it really hard to obsess about more than a single topic of interest at any one time and lately that topic of interest has been gardening. The gardening obsession was born through my overall interest in Self Sufficiency, which in turn has led me back to wood working, albeit of a slightly different nature this time. As I have cut down a few small trees in the garden lately, I find myself staring at their small trunks and wondering if theres any usable wood inside...
I found a guy selling really cheap (less than £30 inc P&P) Froes on Ebay. Its not hand forged or anything fancy but its certainly good at its job. I really wish Id had this tool while in France playing with the Oak and Walnut logs. I carved a mallet for it from one of the small trees, to save my Beech chisel mallet from being ruined. I have also invested in a really nice Wetterlings hatchet, which is hand forged and lovely.
A Hook Knife is still on the shopping list.... Spoons, Bowls and Kuksas here I come!... And, you dont need a bench!
More to come...
Read More..
With the steps and legs joined I turned my attention to the stretchers.
 |
| The legs are glued to the steps. |
The stretchers are made from the 1" thick stock I milled for the steps and legs during the milling process. I began by ripping two (2) pieces to about 1¼” width.
Next I took two (2) scrap pieces and cut them to be the exact length between the sides, where the sides meet the steps. I fit these pieces between the legs at the base of the stool in order to hold them parallel (they were angled in, so the legs held the spacers under compression without clamps).
With the legs held parallel by the spacers, I used an adjustable square to mark up from the bottom evenly on both legs. I didnt go for a particular measurement. I aimed for about 1/3 of the choice up. The square ensured that the marks on both legs were even with each other. I followed the same process to mark out for the back stretcher, making it about 1½” higher (by eye) than the front stretcher.
The stretcher blanks were laid across the legs, with the bottom edge of the stretchers even with my marks. Then I marked the top of the stretcher on the legs and the inside and outside of the legs on the stretchers. I cut the stretchers to length at the outside edge of the leg marks. Then I used a bevel gauge and laid out a single tail on each end, extending from the inside leg mark to the end of the stretcher. I cut down the side of the tail with my dovetail saw, then I scored the shoulder line with a chisel and cut it with the saw too.
 |
| The "pins". |
Once the tails were cut, I laid the stretchers back down in place on the legs and marked the pins (it’s really just a single negative tail, but for the sake of clarity, I’ll call it the pins). The sides of the pins were cut with my dovetail saw and I chiseled out down to the base.
Hand cutting dovetails is not an operation I do often, so their fit was gappy. It was nothing a little epoxy wouldn’t fix later.
 |
| Not the prettiest, but itll do. |
As I had done with the steps and legs, I took the stretchers to the router table and rounded over the edges that I would not be able to reach once the step stool was assembled. Then I glued in the stretchers with NexaBond. Actually, I installed the front stretcher before I remembered I should have rounded it over. This left me more work to do with the rasp and resulted in the back edge not being as evenly rounded as the others. Be sure to round over your unreachable edges before assembly.
For previous Step Stool posts, click here.Dont forget about the +Modern Woodworkers Association Podcast. We talk woodworking with Guests from around the world of woodworking every other week. Subscribe to the RSS feed or iTunes today.
Read More..
This post originally appeared at modernwoodworkersassociation.com Show Notes:
What’s in the shop?
Only used wood named after jungle creatures
Dyami
Carter Guides
The stool is blue & getting glossy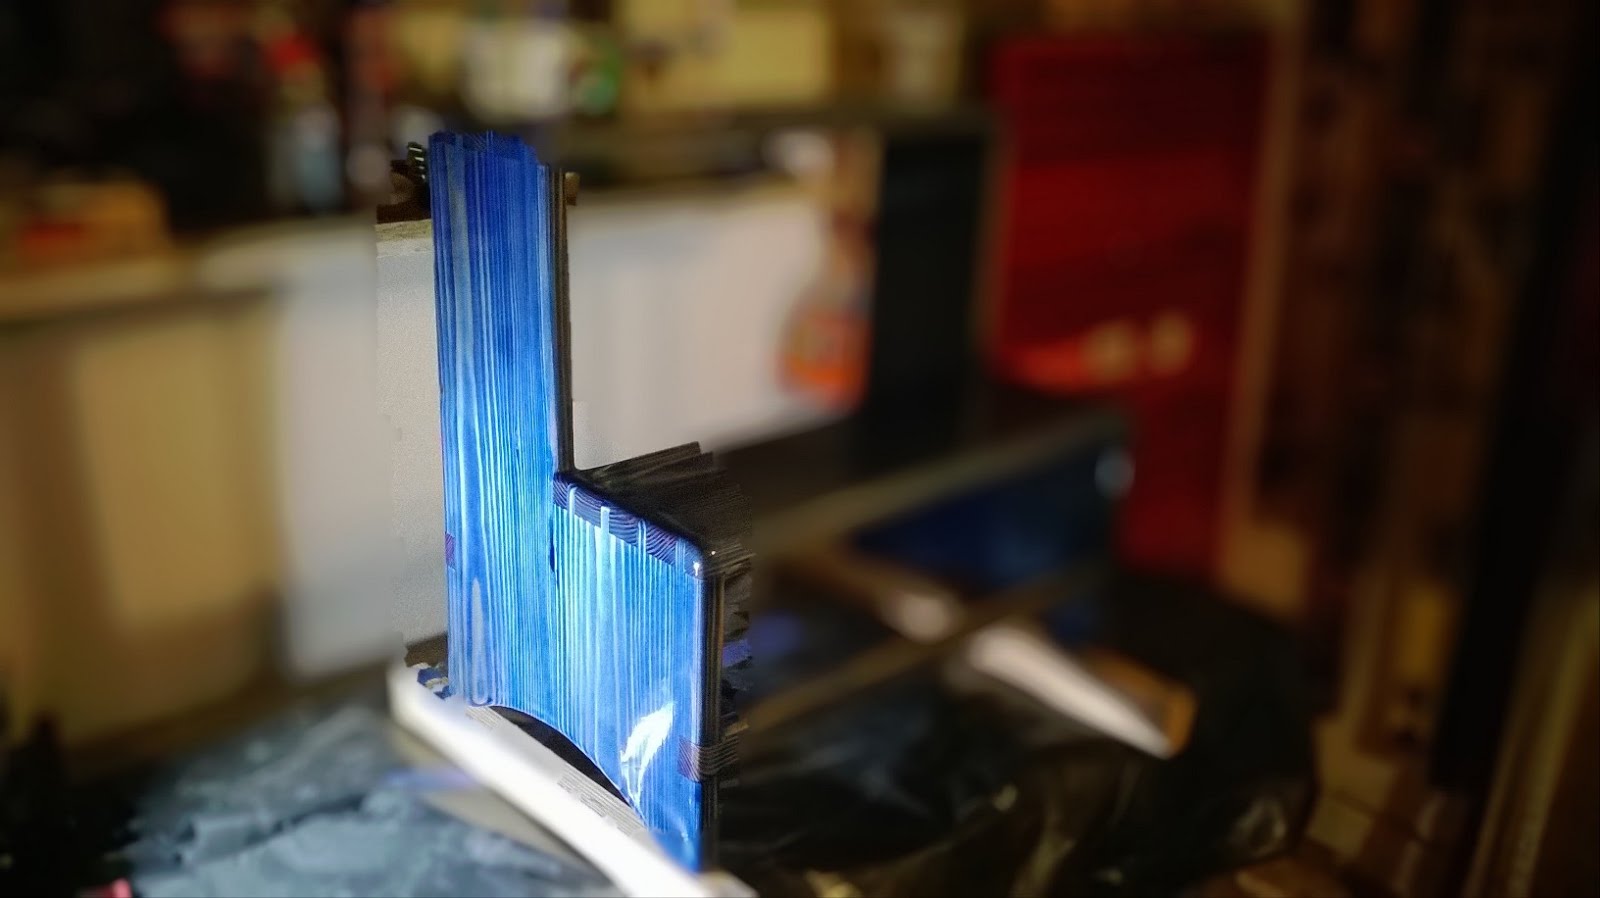
The Dyed Timberstrand Chris Mentioned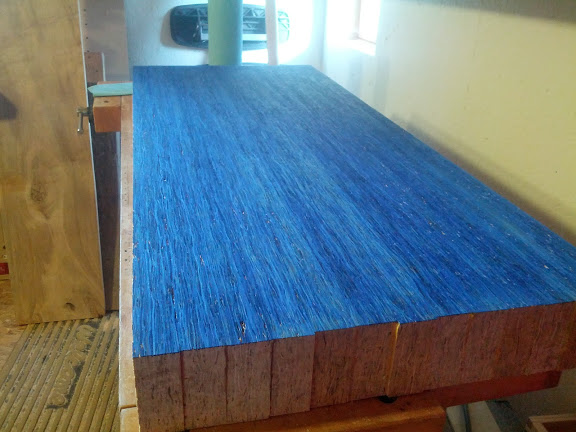
Tom
Tom’s wee bench