Last summer, Kari Hultman kindly shared her lumber stockpile with me, and let me take as much as I could fit on my truck (leaving room for the contents of my Sister-in-Laws apartment). Since I brought it home, this lumber has resided in our sun/hot tub/miscellaneous storage room. Unfortunately that room is the only choice to the back door that lets out onto the deck. As the room had to serve duty as a buffet station during our Memorial Day Party, we set about cleaning it out. |
| The sun/hot tub/miscellaneous storage room lumber pile. |
Moving the lumber was, of course, my job. As I broke down the stacks and transferred them one-by-one to the attic I came across a piece with two live edges that looked particularly like a tree to me. I couldnt initially think of what to do with it, but its form struck me and I set it aside. |
| This beauty caught my eye. |
By the time I was done moving the lumber, it had dawned on me. I knew what I would do. The piece would serve as the left vertical member of the banner rack I have to make for the MWA banner well be displaying at Woodworking in America.I immediately broke out an assortment of sanders and took the rough sawn face and still partially barky edges to a smooth, 80 grit. Then I successfully filled a face crack epoxy. When it came to the multiple cracks in the back face, I first routed out the cracks a little bit to make the epoxy application easier. Unfortunately, the epoxy application didnt go so well on the back face. I probably mixed it wrong, but whatever the reason, my 5 minuted epoxy was still tacky 2 days later. |
| A typical crack on the back, routed to allow additional epoxy to fit in. |
I allowed it a third day to dry, and when it was still tacky I posed the question to Twitter. What should I do? One of the ideas I liked was to heat it up under a heat lamp in order to accelerate the drying. Unfortunately, within about an hour the heat lamp took hard and tacky to soft and bubbly. Thankfully, removal of the heat and time seem to have restored it to hard and tacky. |
| Not a formula for dry epoxy. |
Ive thoroughly enjoyed working on the Banner Rack so far, but since I have to design the rest, buy the lumber for the rest and it was one of may pices of word stacked in the shop preventing me from walking around, I took the piece as was and put it achoice in the attack. It gets warm up there, but not crazy, heat lamp hot. Hopefully when I pull it down in a month or two, itll be dry enough to work on.These videos walk you through the process of sanding and epoxying the piece.
Ill keep everyone posted when I get back to it, and please dont forget to check out the MWA Banner Rack in person when you visit our booth at both Woodworking in America Conferences.
Read More..
Nice night, hanging with fellow woodworkers in Covington on the eave of Woodworking in America.
Read More..
Before getting to the OSB, I fastened the XPS panels to prevent them from shifting. I secured each of the 2 x 8 XPS panels with two (2) Tapcons into the underlying concrete floor. Thats not enough for permanent attachment, but since Id be attaching the OSB through the XPS, it only needed to be attached enough to hold still while I installed it. I started every other row of XPS with a half sheet so that though there were many joints where three (3) panels met, there were no four (4) panel joints.
 |
The corded PC impact driver burnt out after driving about 2 dozen Tapcons. |
After the XPS, I installed the 3/4" tongue and groove OSB. I used a half sheet of OSB on every other row also to achieve the same 3 panel joints. Each sheet of OSB was fastened through the XPS into the concrete with 18 tapcons in a 4-3-4-3-4 patten, installed along the factory markings which are painted on the OSB to help identify where the framing is for typical installations. This left me with a floor fastened every 1.7 on center. It shouldnt be going anywhere.
 |
| Its beginning to look like a floor. |
With the XPS installed to 7-1/2 from the garage door and the OSB installed to 12 from the edge of the XPS I called it a day on installing the floor. I has hoped to also make the threshold which will fit in the 7-1/2 space, but I realized too late that my planer was stuck in my living room, surrounded by the other workshop paraphernalia.
The next morning, after I picked up my new jointer, I began the long task of loading all of the tools into the shop by myself. By the time my wife got home in the early afternoon, the only thing left in the living room was my work bench.
 |
| Reloaded with the contents of my shop. |
Though I still need to build the threshold and tie it into the OSB Ive spent the few weeks since the floor was installed coloring the walls and setting the shop back up. In that time, Ive already come to appreciate how nice working on the new floor is. When I step from the concrete at the door to the OSB I can immediately feel how firm and soft the new floor is.
Though Im far from finished, its absolutely delightful to be able to reach a
Read More..
This is part III of a III part series read parts I & II here.
I began working on the light ring stand at about 8:30 pm. It had to be completed that night, for in the morning it was to leave on a cross country drive. If that deadline wasnt enough, it was also the first night of the newly resurrected #woodchat. Besides making the stand, I was tweeting and Google+ Hangouting for much of the night.To construct the base, I used a 1 thick, factory made sheet of finger jointed pine. I find that using sheets like this for non-decorative pieces is cost effective and the boards I rip from these sheets are much straighter than dimensional lumber would be. |
| The partially assembled light ring stand. |
The entire stand is made from strips, about 2 thick, except for the upper half of each leg. As I ran out of the 1 think sheet and it was 10:30 at night by that point, I used the only dimensional lumber I had in the shop, pieces of 2x4 Timberstrand to make the tops of the legs. Almost all of the joinery is made using T-nuts, 5/16 threaded rod and plastic knobs for easy breakdown. I set the T-nuts and install short pieces of threaded rod in each, secured with LocTite Threadlocker. Luckily, I had Ari around to cut the threaded rod lenghs for me while I fabricated the stand. The only permanently attached pieces are the receivers for the legs, where are permanently screwed to the feet. |
The completed light ring stand with the light ring in place. The stand is assembled with clamps as the LocTite was not yet dry. |
When assembled, the stand is about 7 high and can hold the light ring, centered at any height from about 36 to 69. The light ring is simply placed against the upper legs of the stand and rings handles are clamped to the stand using small quick clamps.
To use the light ring, simply stand behind it, and take your photo through the ring, so that your subject is evenly illuminated on every side of the photo. |
| The stand, broken down and ready for travel. |
Broken down, the stand is made of up 9 pieces, none longer than 4. Though I didnt have time to do so before the light ring and stand left of the west coast, I told Ari that if I picked up some large Velcro straps, it would make the stand easier to transport. |
| The light ring is now at home in LA, and its cooking with gas. |
The light ring is now in LA, and soon itll be illuminating the stars.What odd projects have you made to meet your friends needs?
Let There Be Light: Part I
Let There Be Light: Part II
Read More..
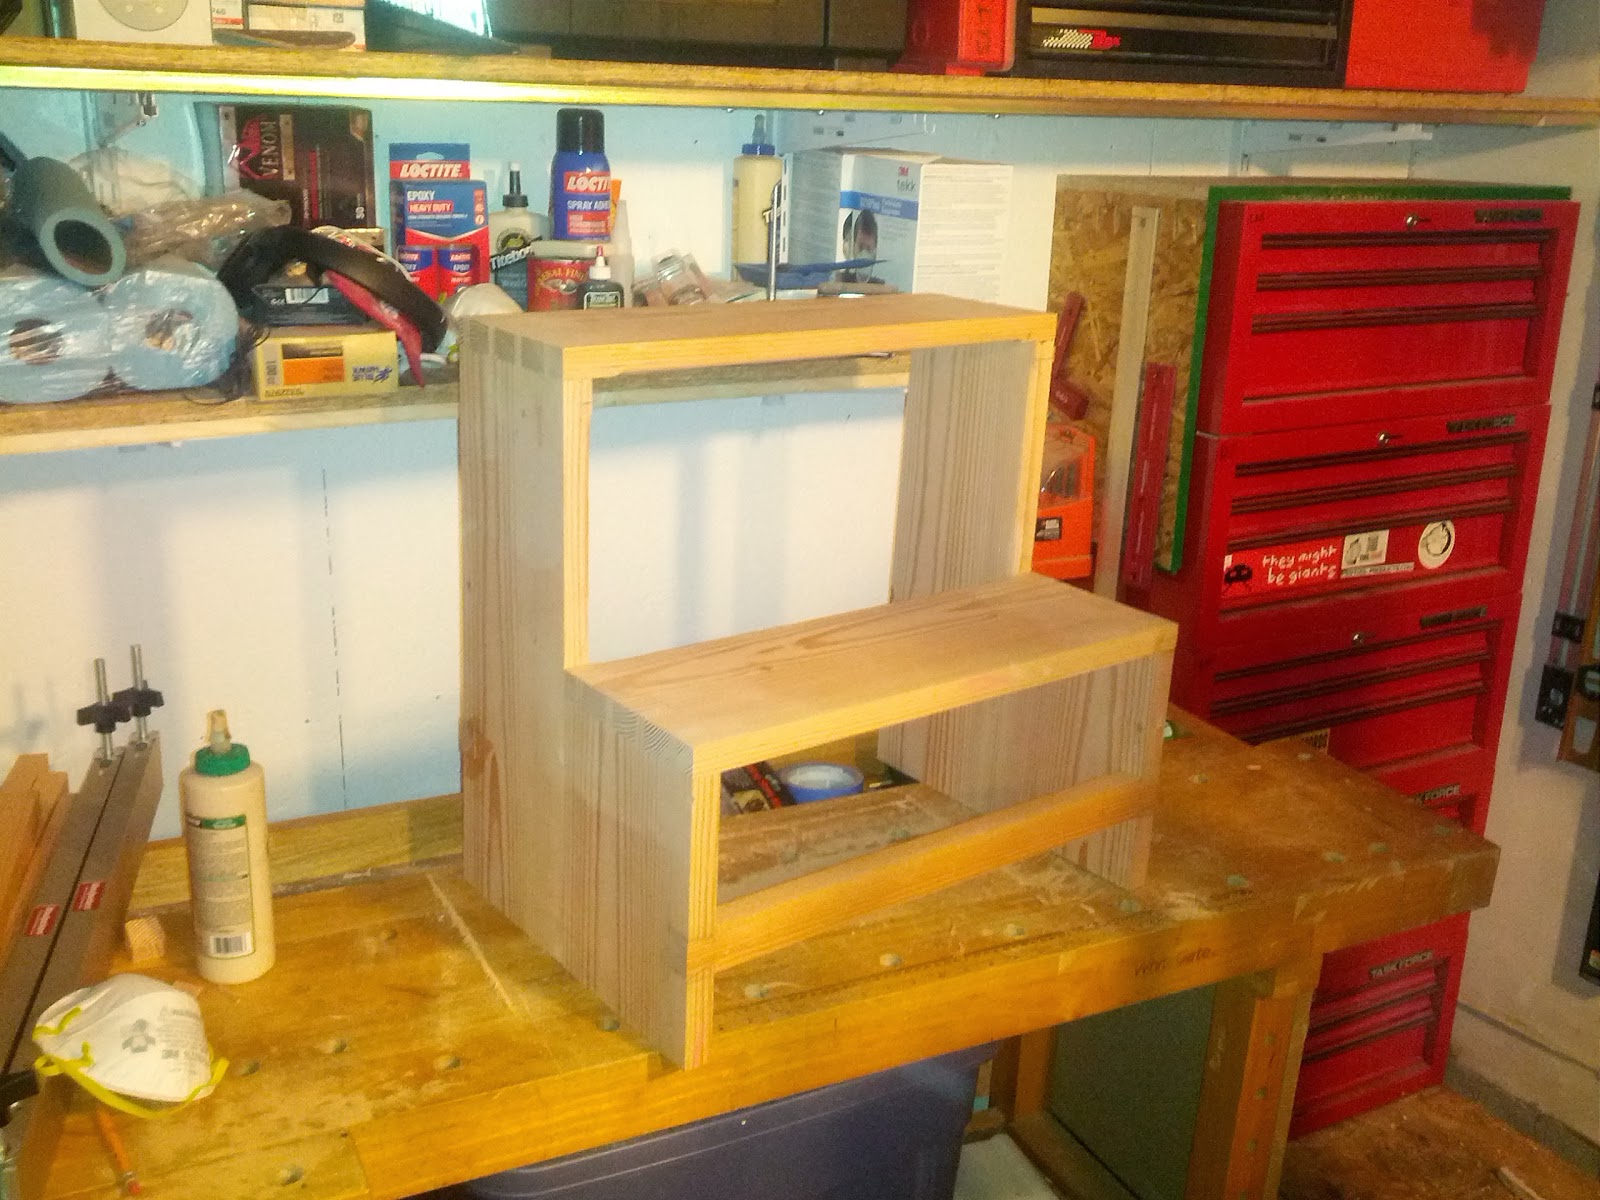
With the entire step stool now glued up I realized I hadnt cut feet yet. I took my Lee Valley Drawing Bow and marked out a subtle curve in the middle of each leg. Once I cut out the curve with a jig saw, it left two (2) feet on each leg.
 |
| All ready for feet. |
Now with feet I took the step stool over to my router table. After the nasty incident with my neighbor during this stage of my last project, I setup my router table inside this time.
I removed the fence and used a bearing guided ¼ radius roundover bit, I ran every reachable edge of the stool (except the bottom) over it. This method took a bit of getting used too. With a bit of practice I soon found it easy as the stool is not so big as to hang completely off the router table yet is big enough to provide plenty of reference and holding surface.
 |
| Its starting to look curved. |
Fresh off the router table the stool (or any piece having this roundover method used) is rounded, but not done. The routed curves on the edges are hard, disjointed and where they do flow into each other they have a shallow, machine cut look. I only use the router to hog off most of the waste, not to provide my final edges. After routing it is time for rasping.
 |
| My arsenal (and some additional). |
As Ive grown to enjoy the process and results of using rasps, my collection of rasps has grown. As Ive used them more and more, favorites have emerged and others have fallen out of use. On Stephens Step Stool I did all my initial rasping using my Shinto 9 rasp. Though amazingly cheap, the woven blade is exceptional at coarse and medium rasping with efficient chip removal. Unlike other cheap rasps Ive used, the Shinto does not leave tooth tracks (due to the woven blade).
 |
| The Shinto is wonderful at coarse work. |
Next I used my Auriou #9 Cabinet Makers rasp. The Auriou further refines the curves while taking the coarse surface left by the Shinto and smoothing it to a much more consistent surface. Finally I used my new Gramercy 5 25 tpi cabinet makers rasp. This Gramercy is delightfully light and leaves a very smooth surface (for a rasp).